RAG Tool in a Single-Node Agent
Step-by-Step Guide
Step 1: Choose a blank canvas to customize for defining the user's own agent behavior.
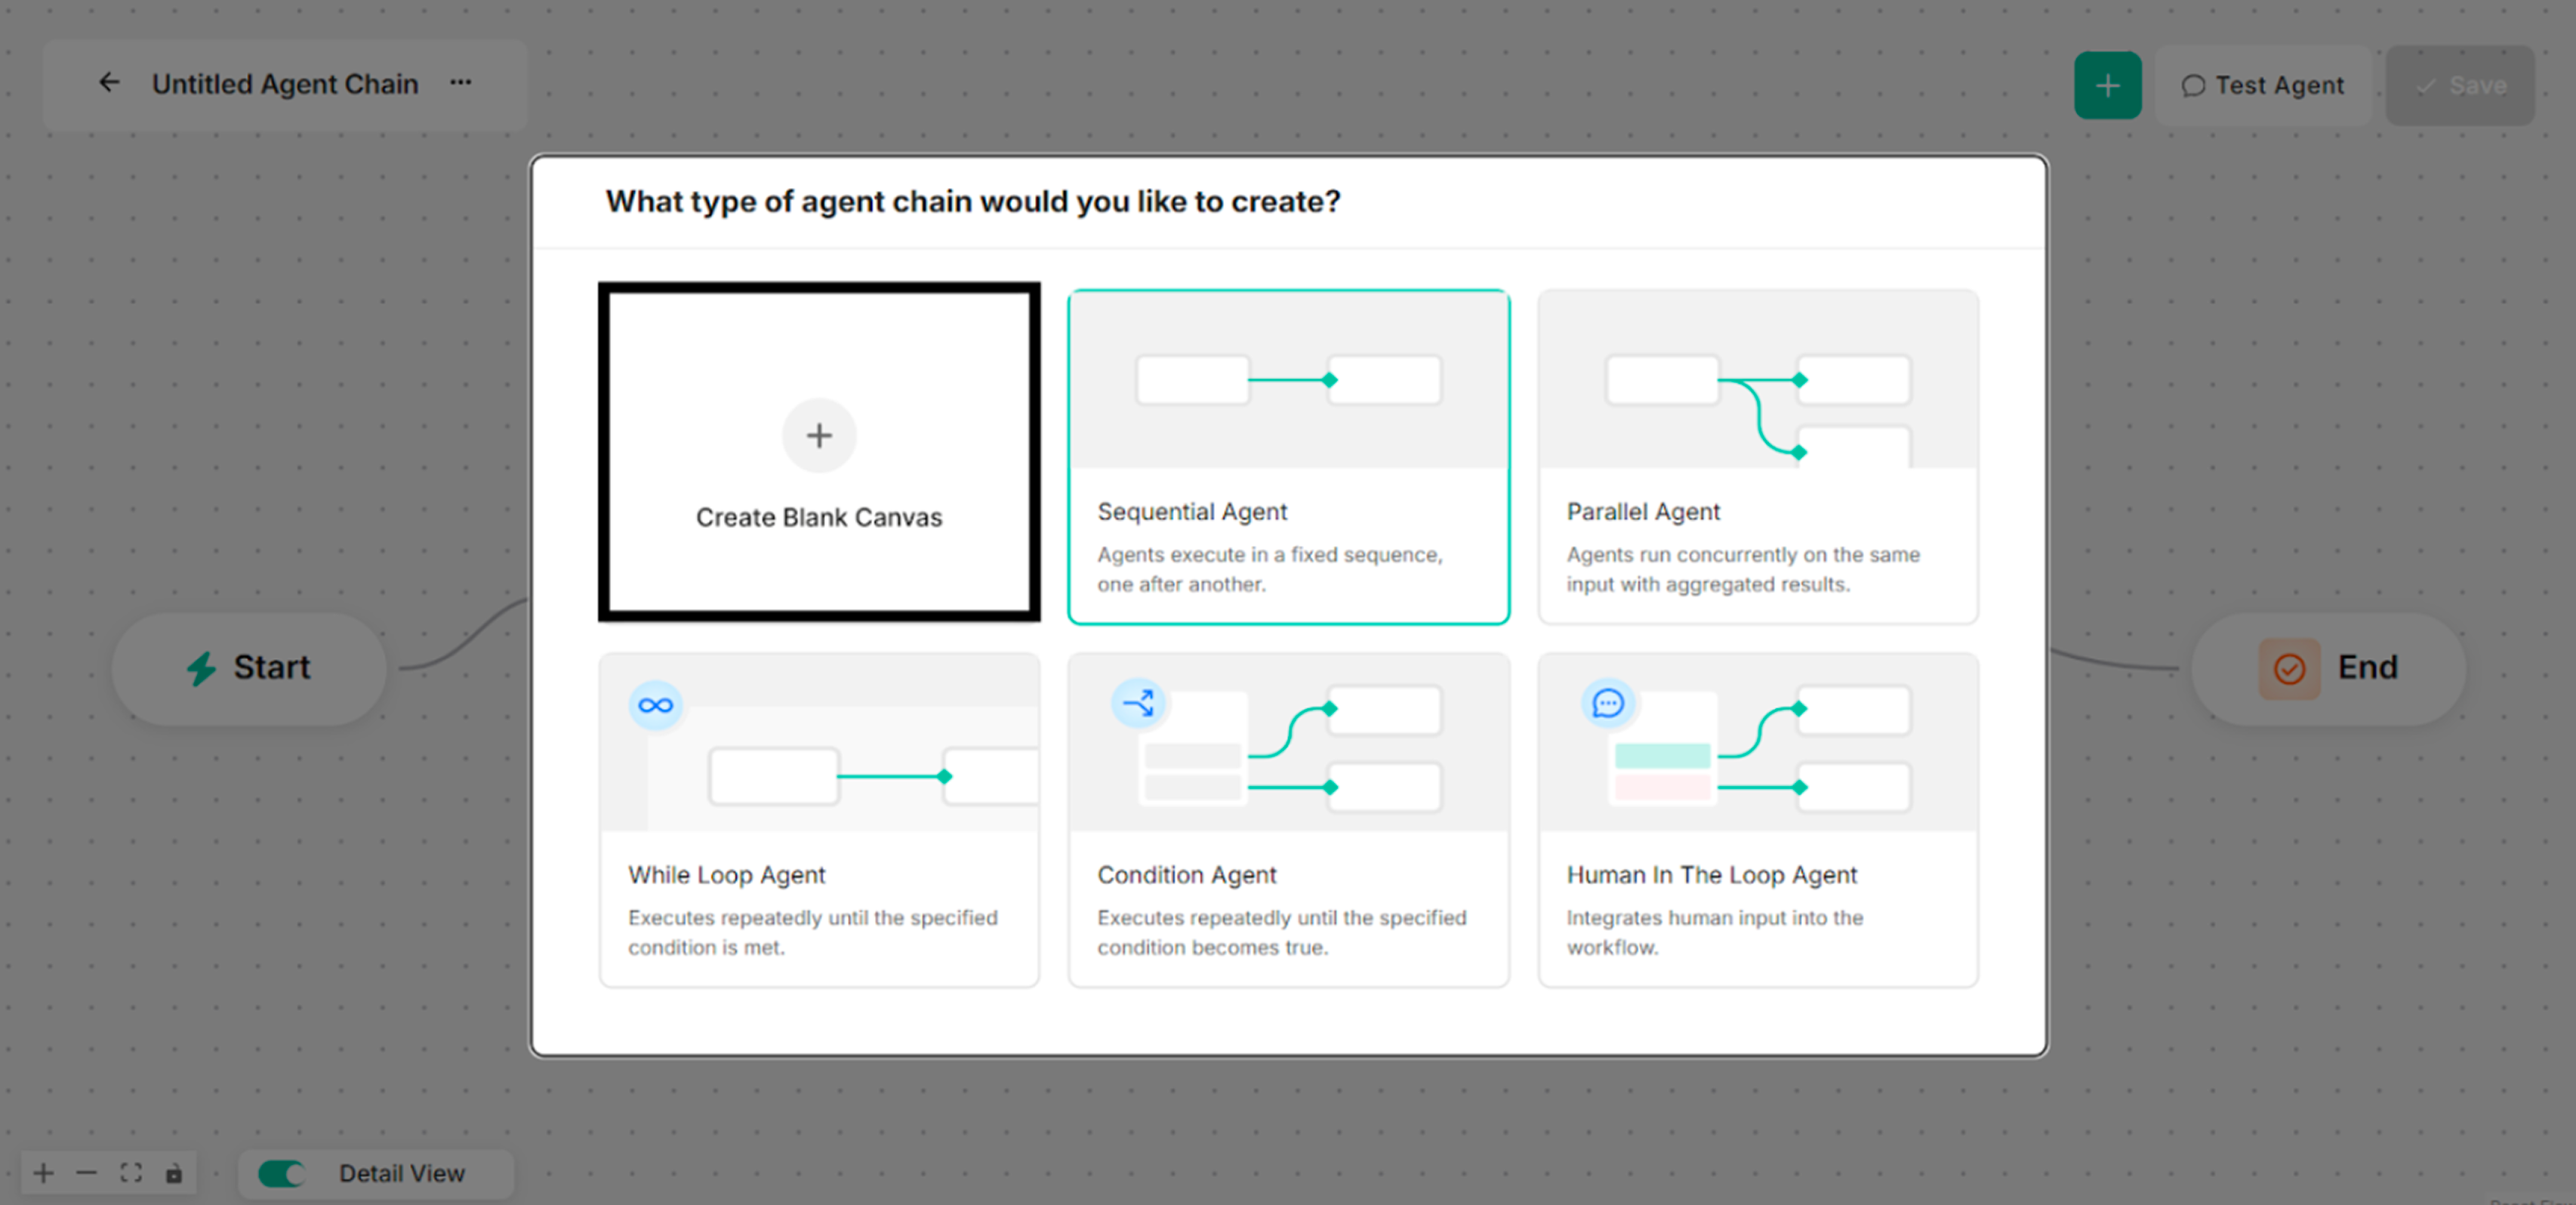 Figure: Interface showing Blank Canvas for a Single-Node Agent Creation
Step 2: Choose RAG Tool for the selected type of agent chain to create. The Agent Name and Model Name are renamed before a RAG Tool is chosen.
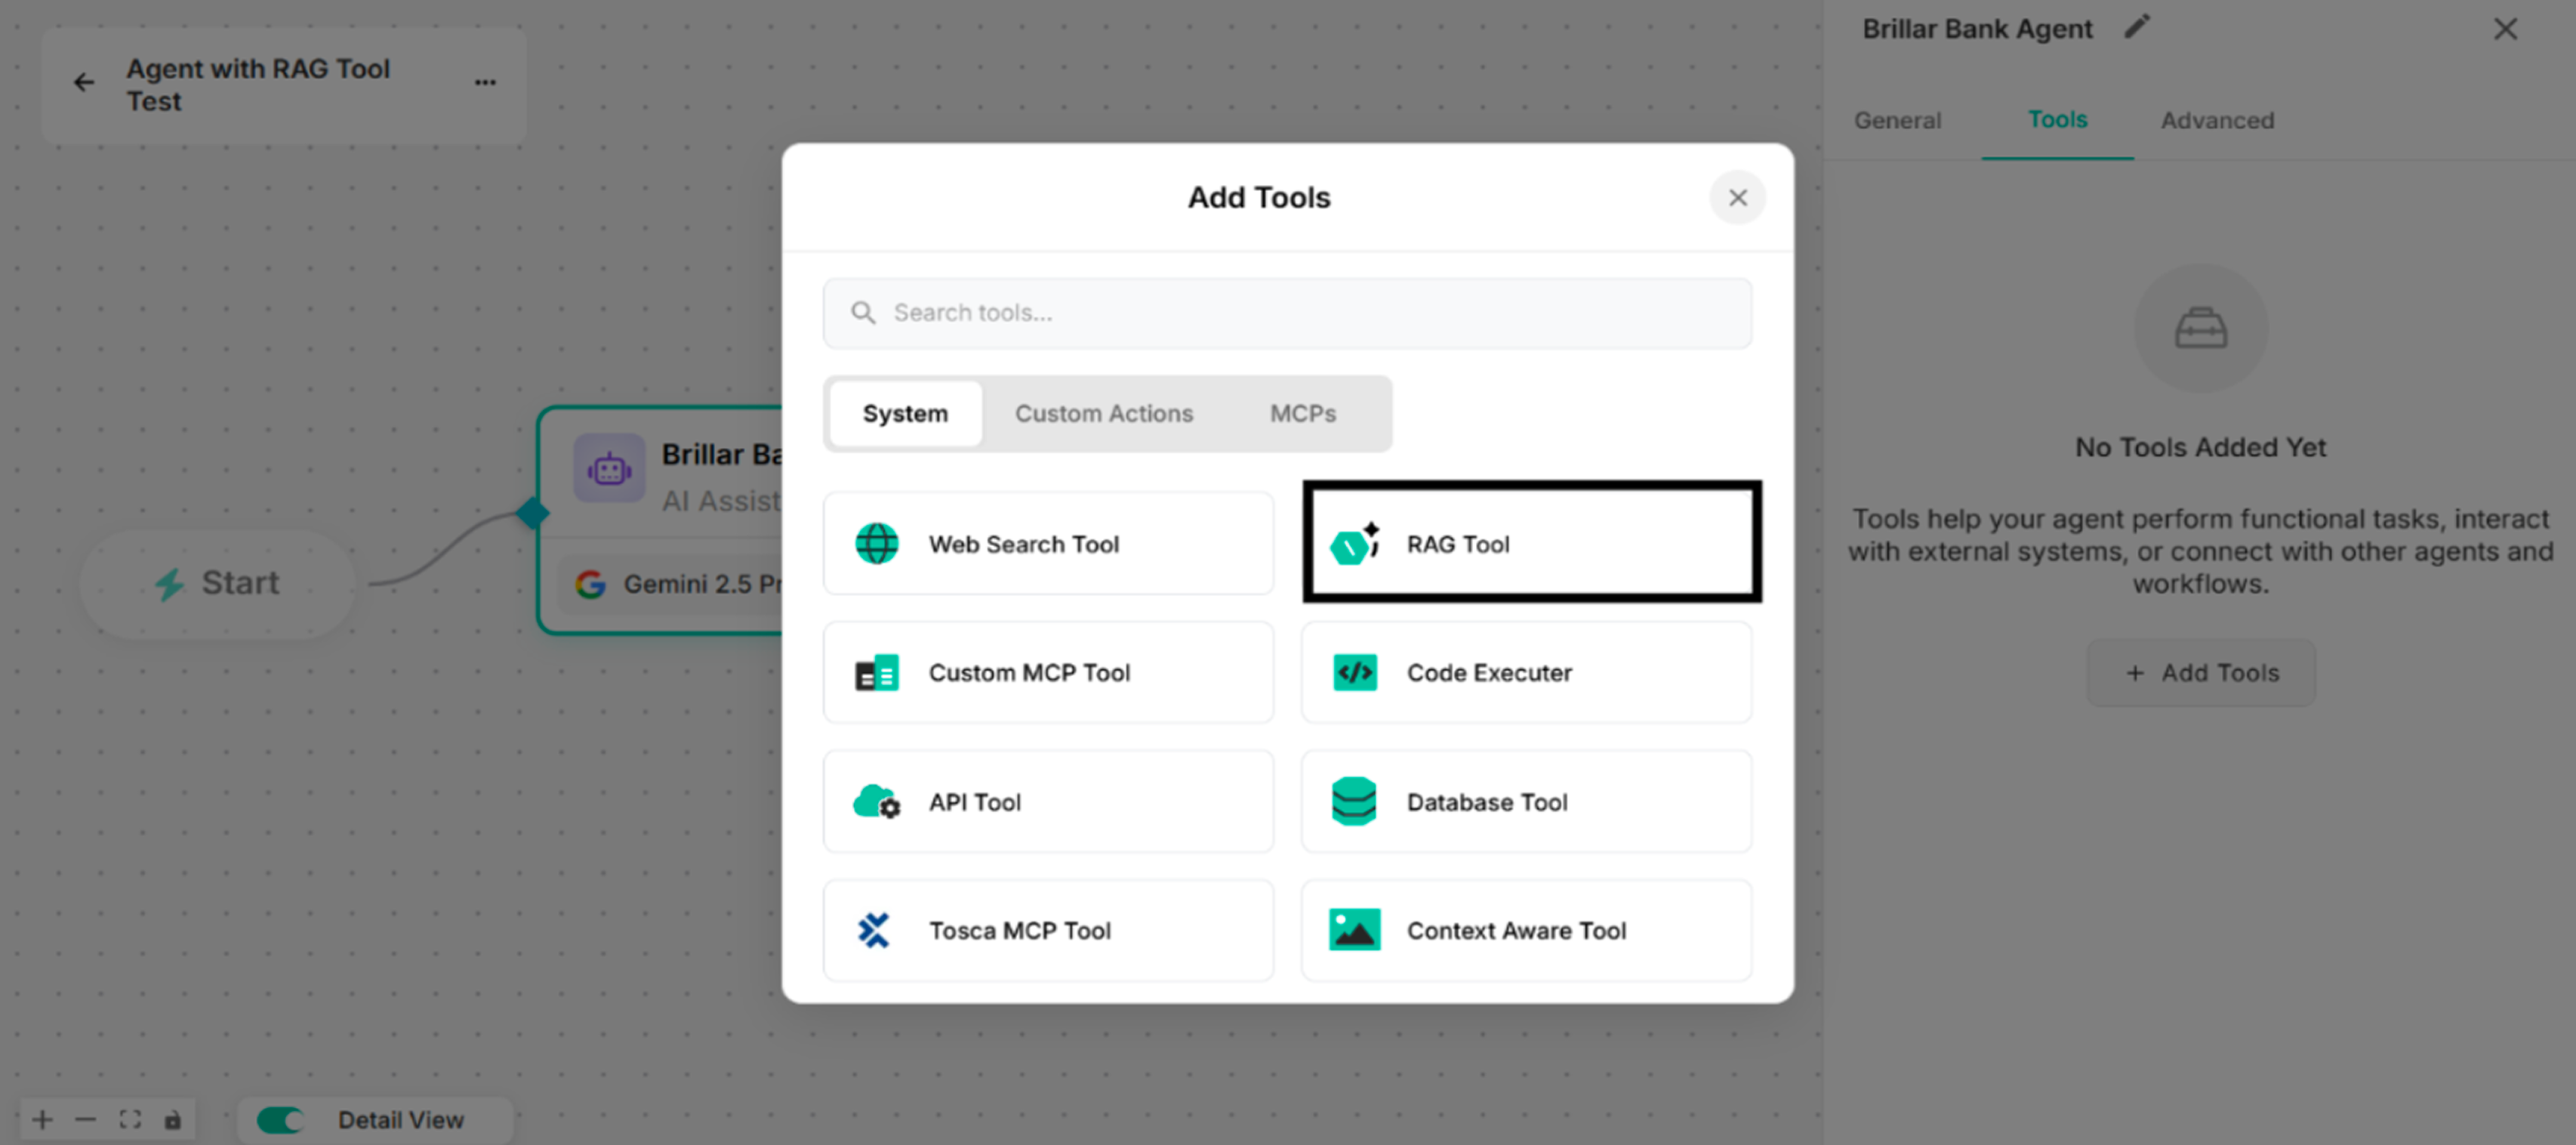 Figure: Showing to select RAG Tool in Add Tools List
Step 3: By clicking the Manage button, rename the tool name for the Untitled Tool. Select one knowledge base from the created knowledge base list.
Knowledge bases can be created by uploading files from documents, media, cloud drives (Google Drive, Amazon S3 Buckets, OneDrive, SharePoint), crawling websites, and adding questions and answers as long as the Manage Sources button is clicked.
-e61a3df3a6b5bf29991269bfbab06e31.png) Figure: Created Knowledge Bases List from Knowledge Base Section in Setup Tool Interface (Knowledge Base Names with Sources Count)
Figure: Created Knowledge Bases List from Knowledge Base Section in Setup Tool Interface (Knowledge Base Names with Sources Count)
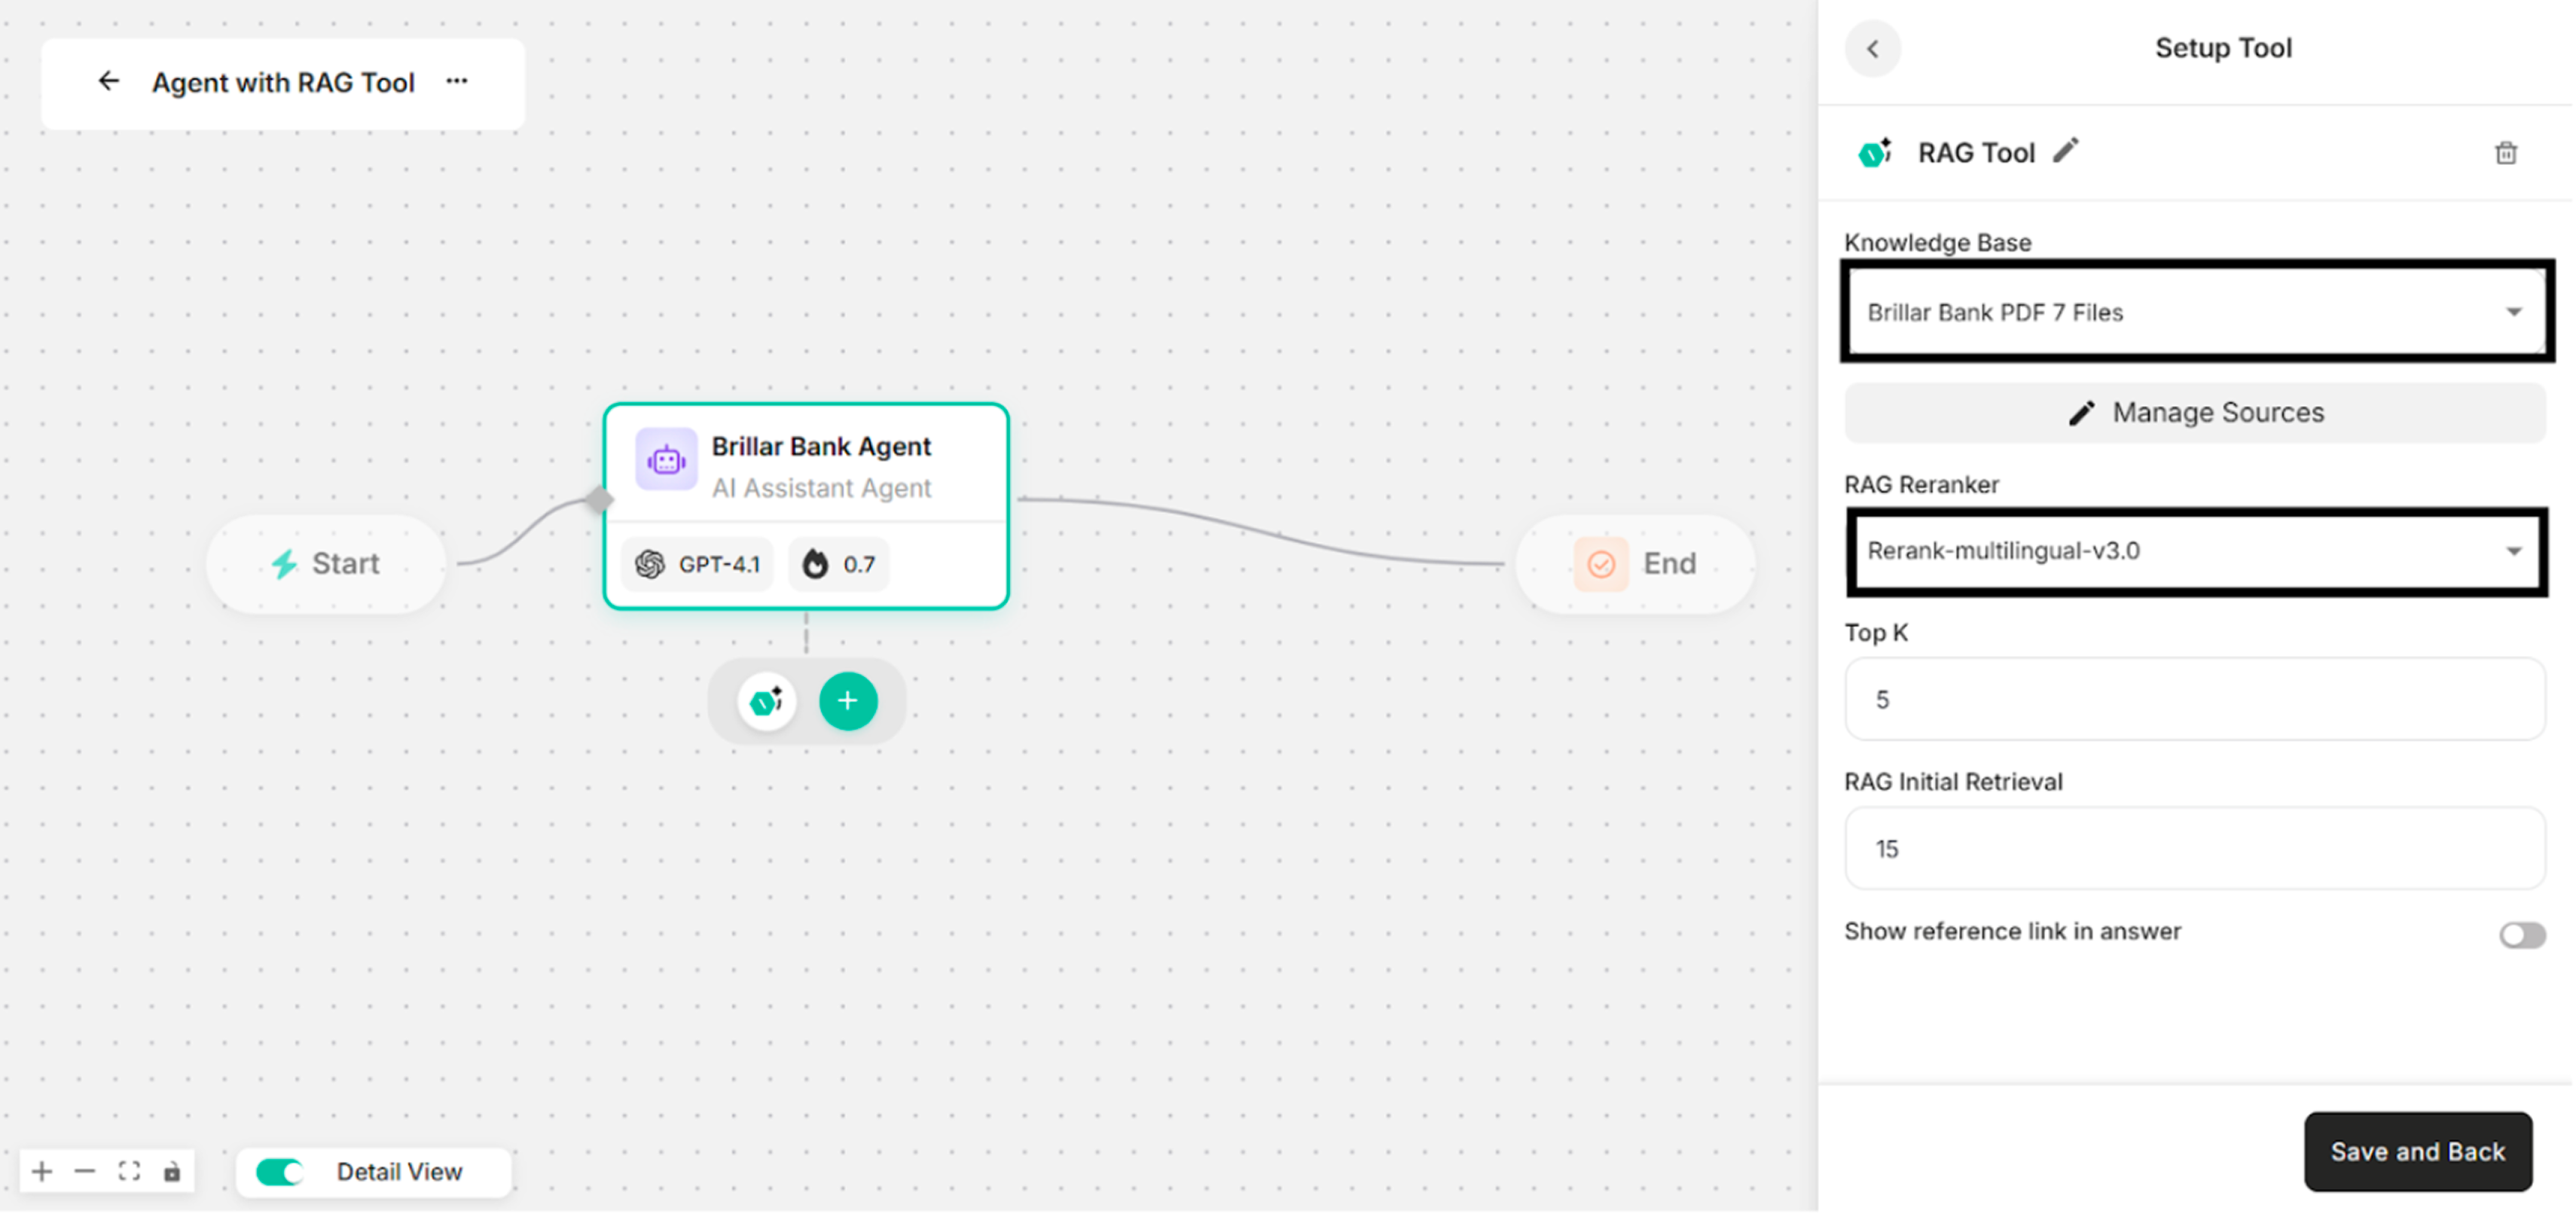 Figure: Showing the Selected Knowledge Base and Selected Reranker Model
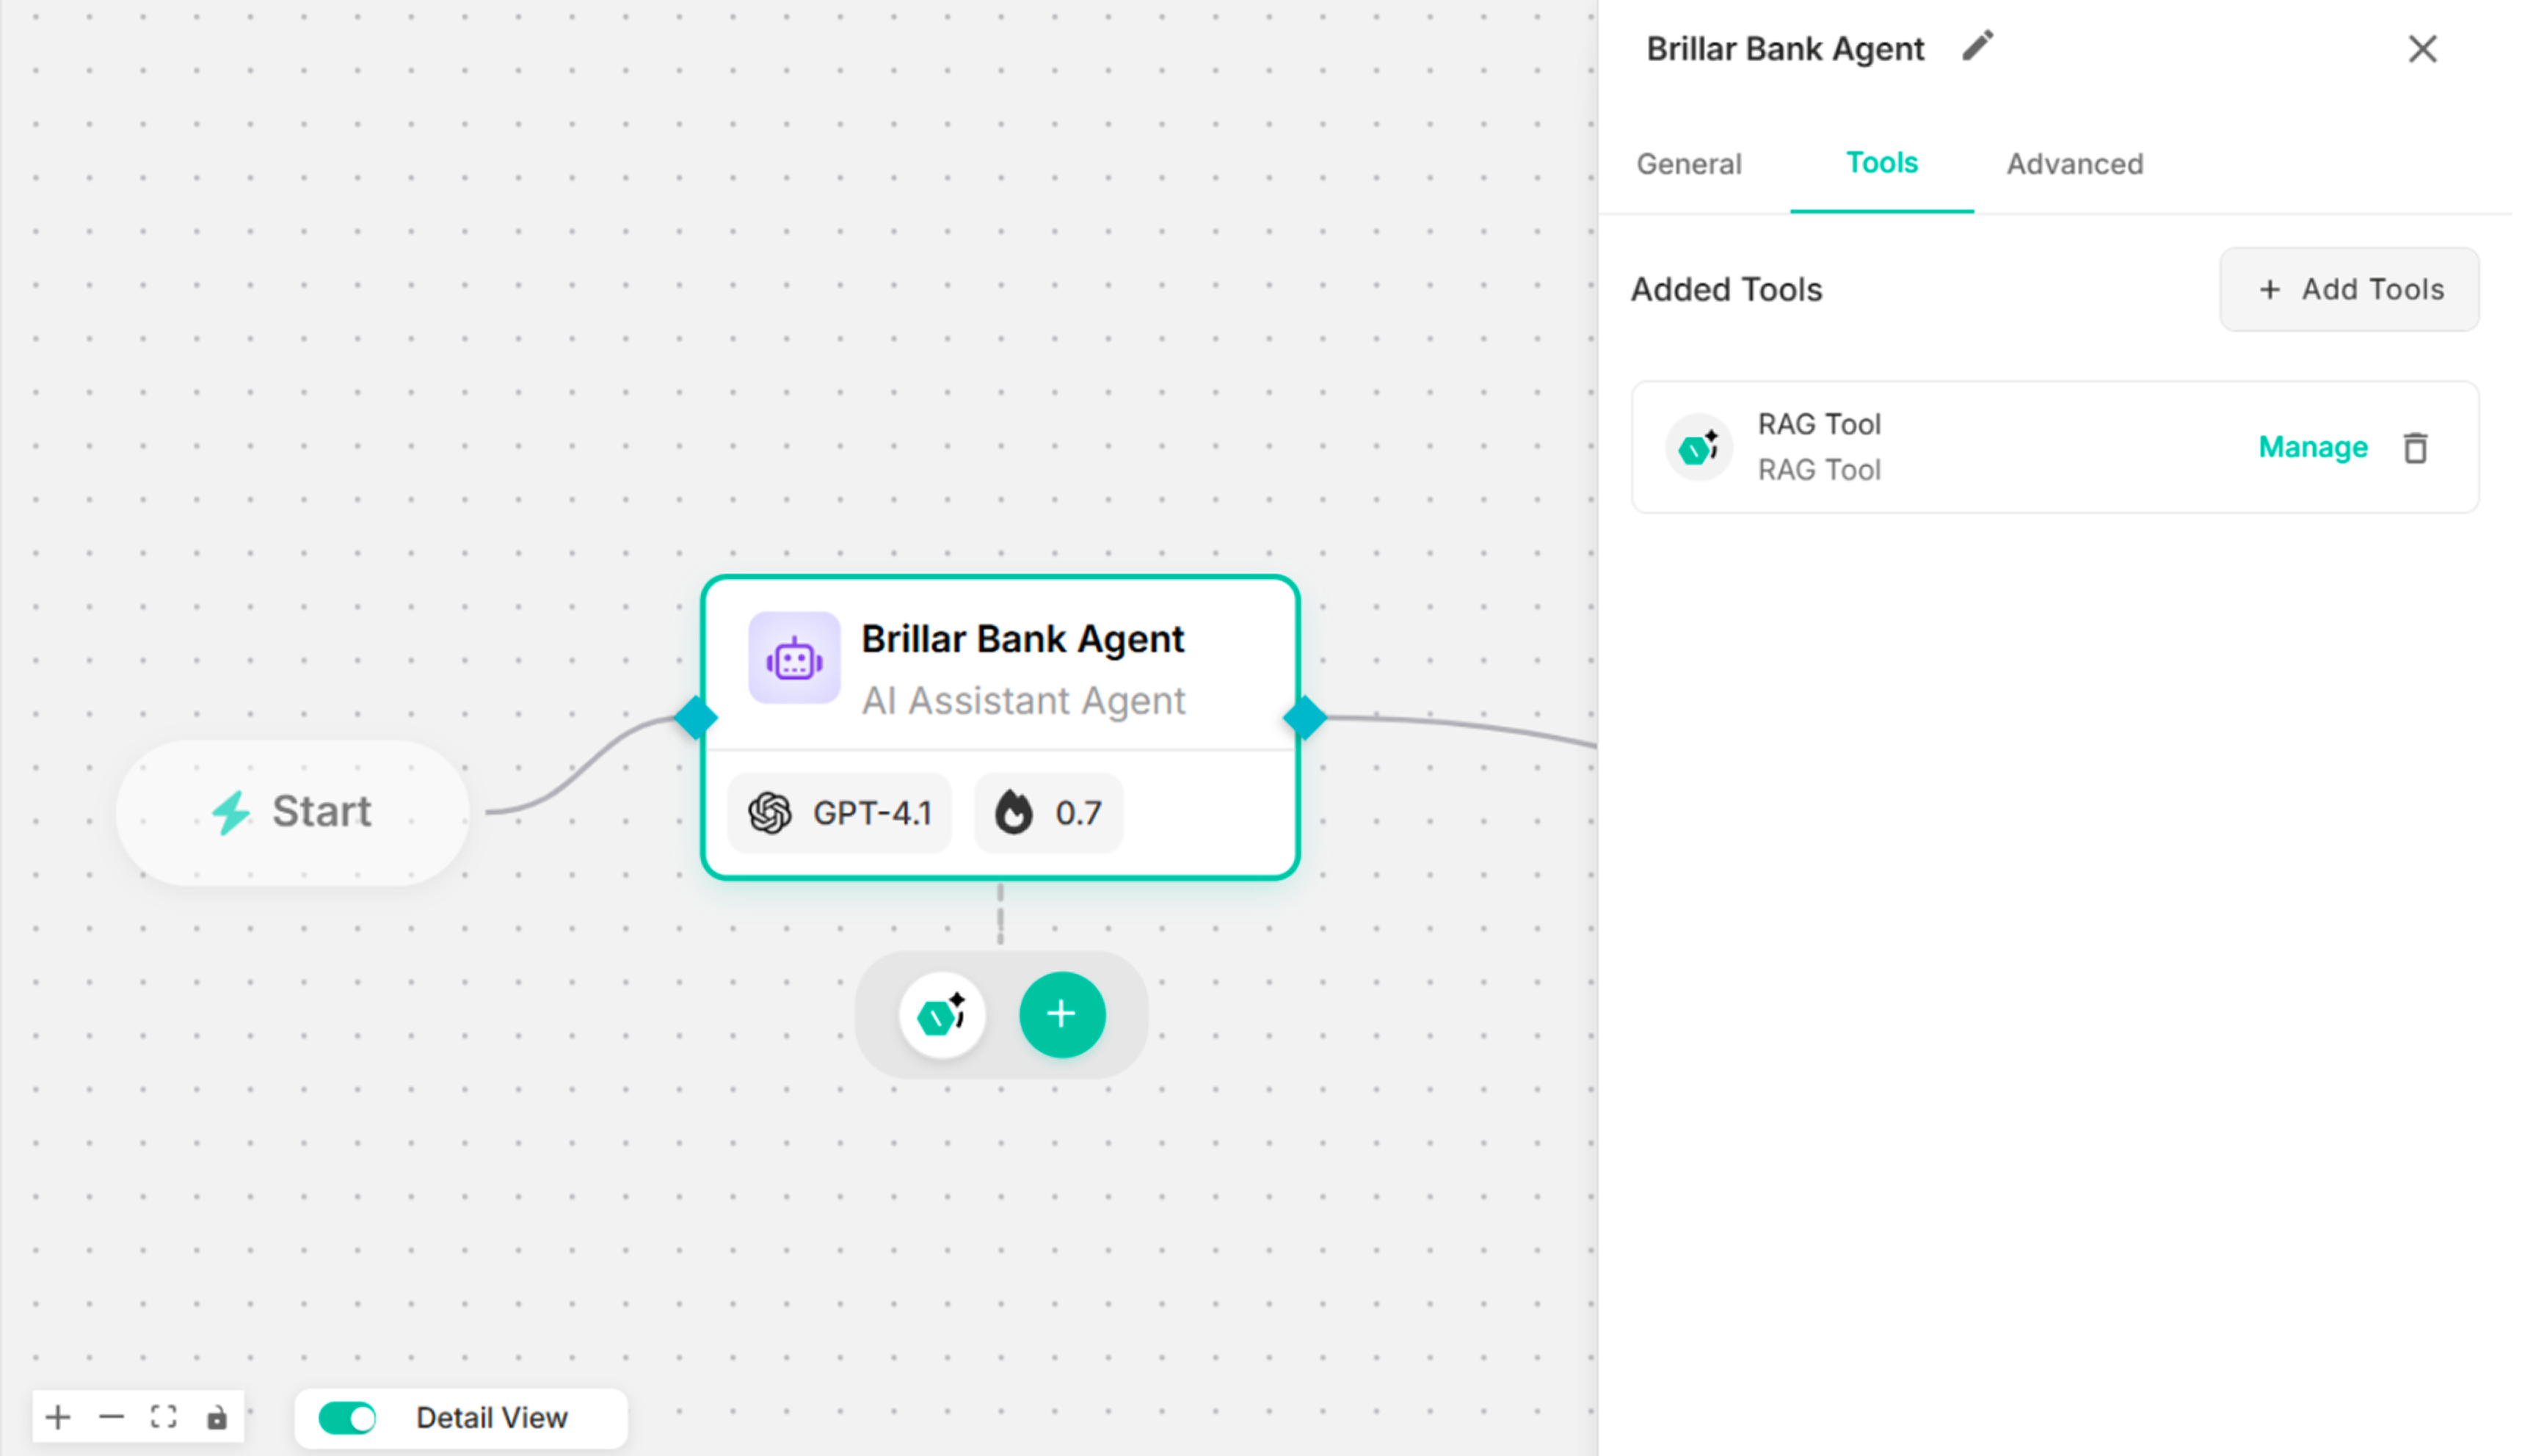 Figure: Showing the Canvas with the Created RAG Tool
Note: Showing reference link in answer is optional.
Step 4: Enter instruction in the Instruction box to use the created RAG tool.
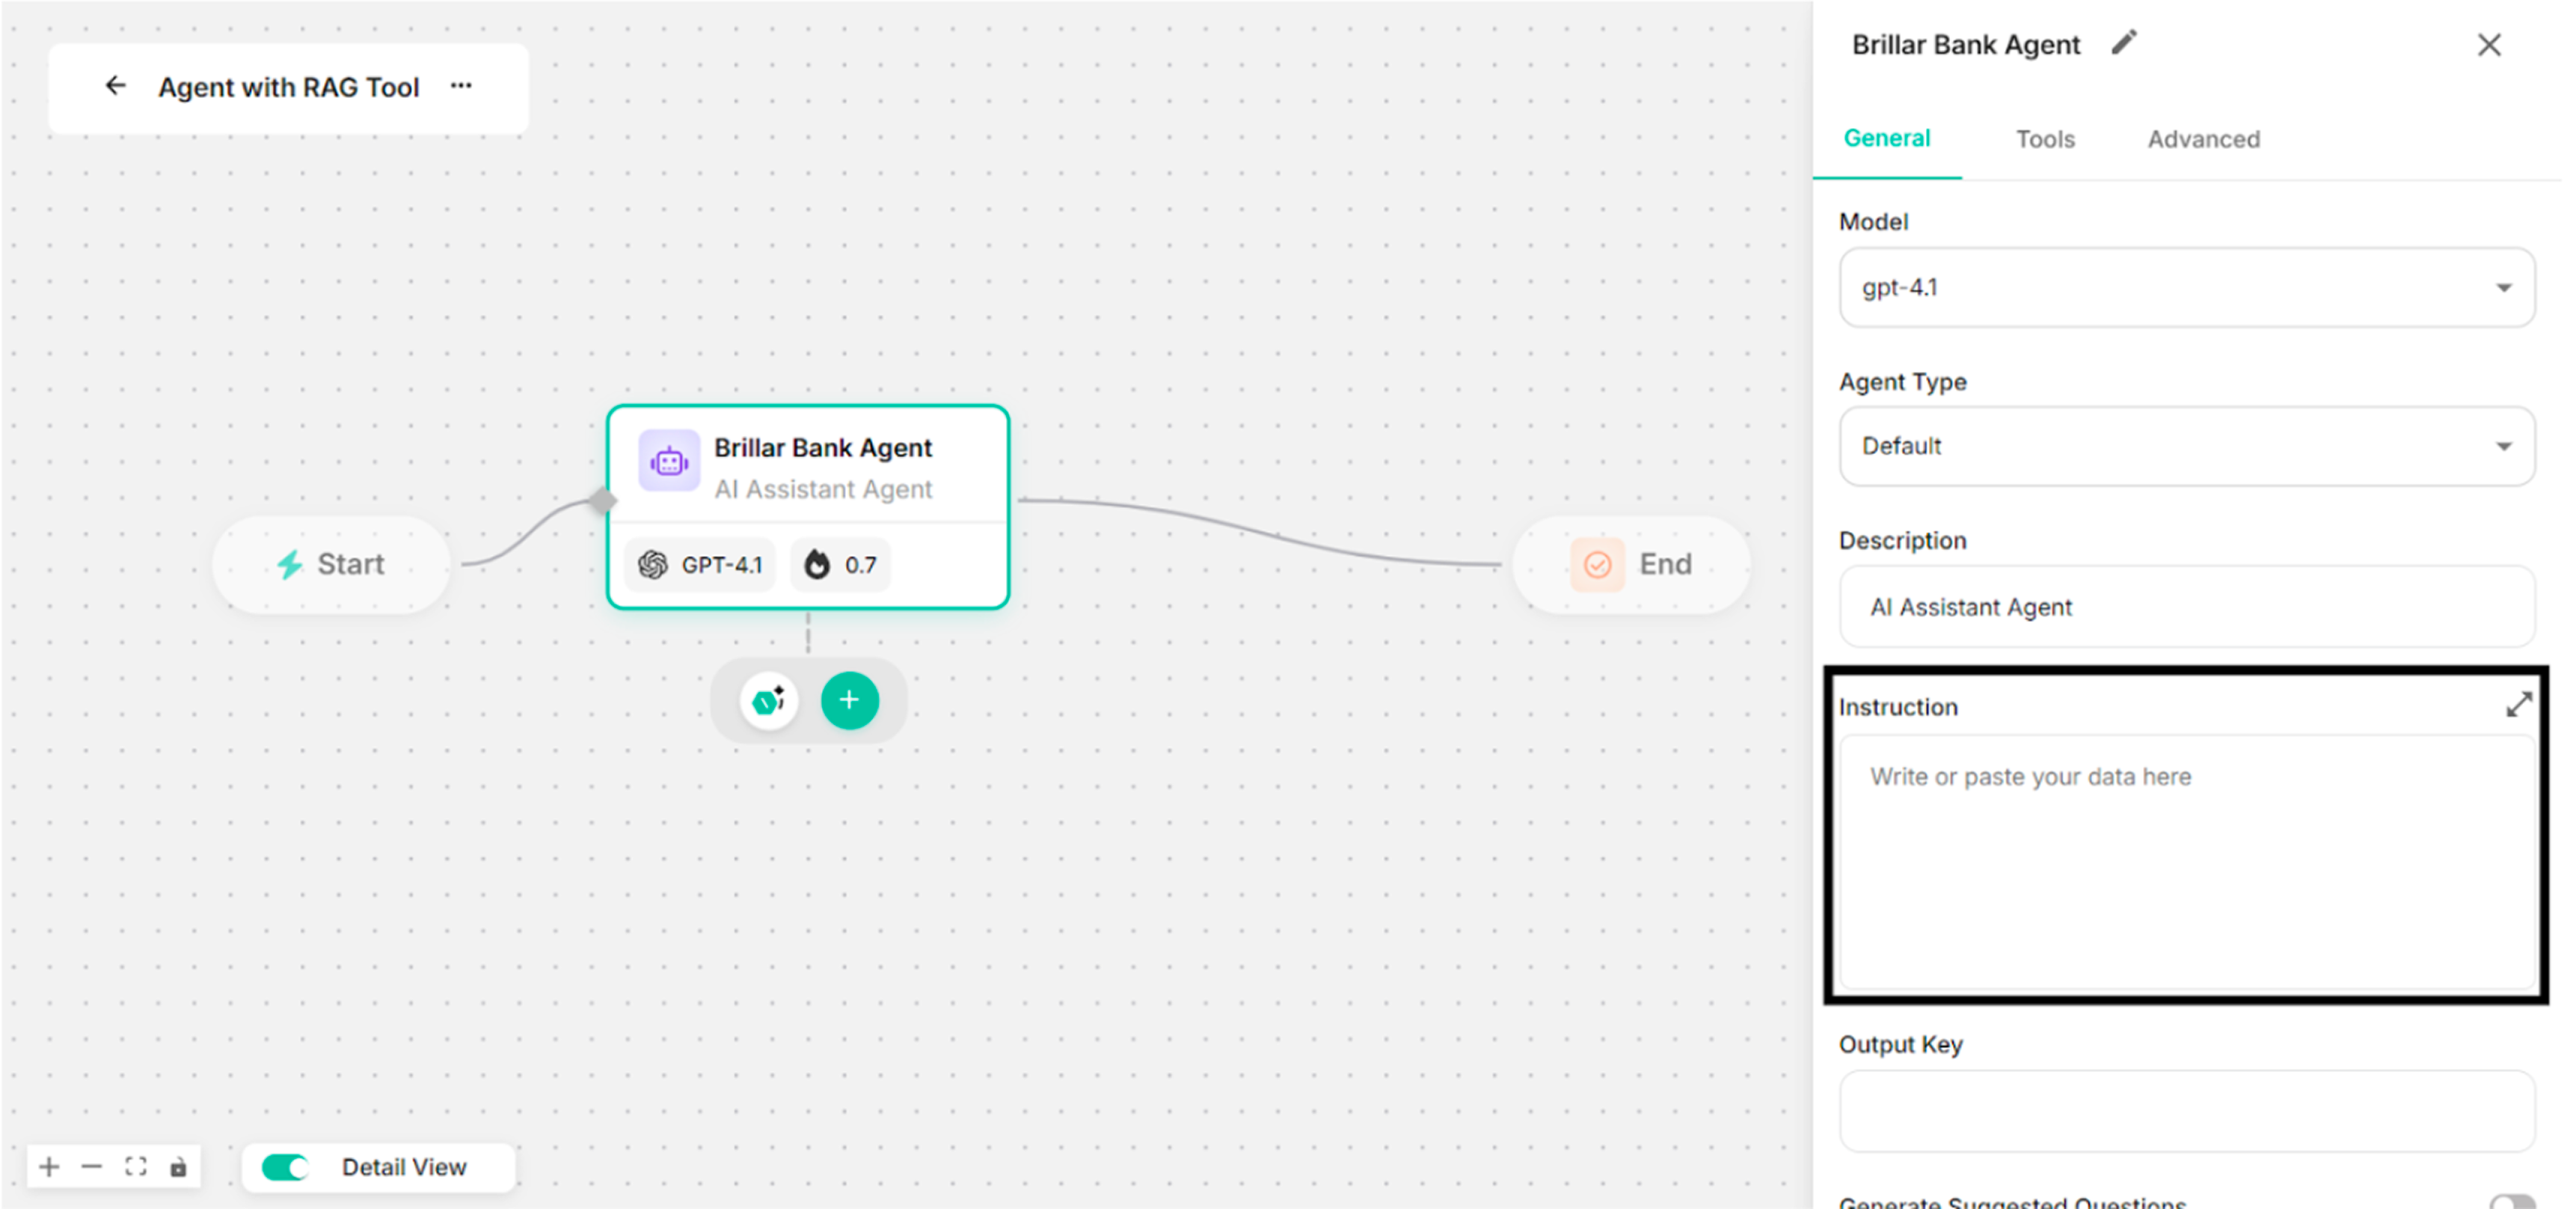 Figure: Showing to add Instruction in the Instruction Box
Step 5: Click Save button with the created RAG tool.
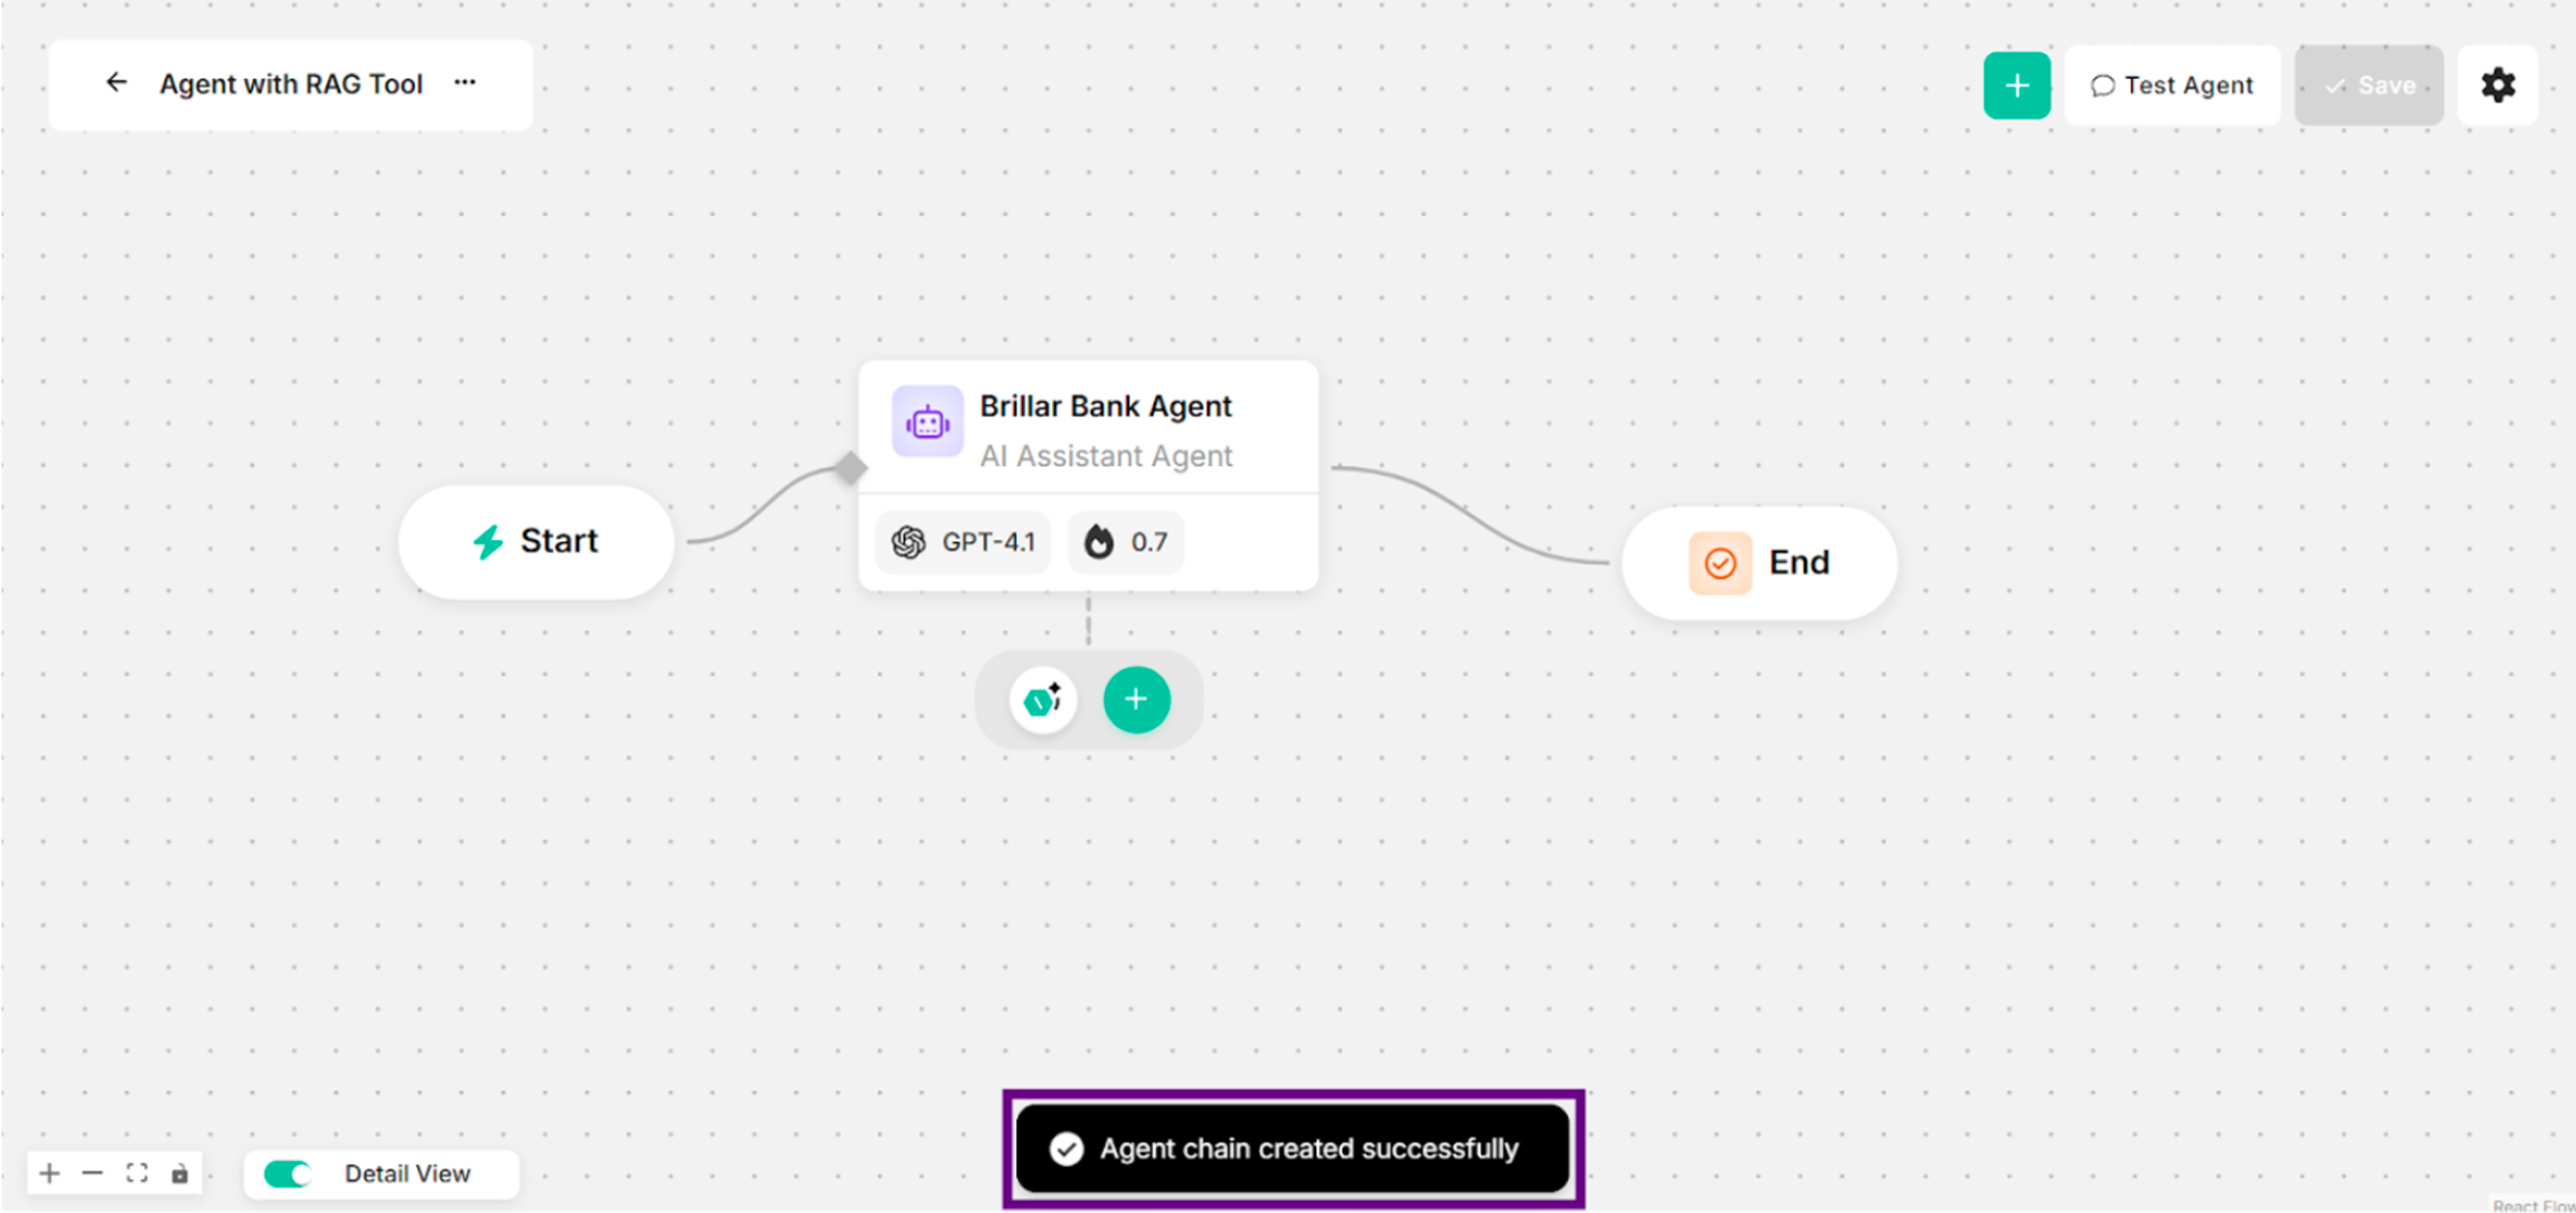 Figure: Showing Success Message with RAG Tool for Clicking Save Button
Step 6: Ask some questions with the successfully created RAG tool.
-7ad1d8406eddeff085306c94f1307d26.png) Figure: Showing Some Questions and Answers in Canvas (with RAG Tool)
Figure: Showing Some Questions and Answers in Canvas (with RAG Tool)